Vertical Gardening
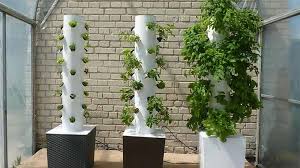
Vertical gardening can be fairly simple, or fairly involved, depending on your goals and time/money/energy to experiment. If you like the idea but don't have time to work out the details yourself, many home improvement centers sell complete systems. Also check out hydroponic kits; many of them can work with either hydroponic methods or soil-based methods. This one is available through gardenseason.com.
Are you a wannabe gardener who is trying to optimize limited space? Do you have issues with slugs and snails or other ground-dwelling pests? Is high humidity an issue? If you answered yes to any of these questions, vertical gardening might be a real help to you and your gardening goals.
What Is Vertical Gardening?
Think of the standard field of vegetables: row upon row of plants which are typically growing no more than 24" to 30" high, spreading out from wherever their main stem comes out of the soil, with row spacing anywhere from 6" to 3' apart. Some of the larger plant types, such as squash, tomato, and melon varieties may take up large areas of space as their vines spread out. But it's not just vines that are space hogs. Potatoes are often planted in hills for this same reason. Bush peas and bush beans also like a lot of horizontal spreading-out room. Last but not least, strawberries rely on spreading out to not only minimize fungal infection, but to replicate the next generation.
Now, imagine that you could encourage all of those plants to grow up or down, rather than wide. That's vertical gardening. And it doesn't have to be complicated or expensive. Sometimes, it just needs to be clever.
Trellising
One of the simplest ways to garden vertically is to use trellising. You might already be using this practice for some of your garden plants, such as peas, beans and tomatoes. But what about pumpkins and squash? Can you actually trellis those? Absolutely! Your trellising structures would need to be much sturdier for squash and pumpkins than for tomatoes, but the same principles apply. Get those vines off the ground, tie them to some kind of support framework, then support the fruits as they bud, grow and ripen. Some folks will support squash and pumpkins with repurposed strips of jeans, T-shirts, socks or hosiery. Some gardening catalogs carry little slings you can purchase for this purpose. Or you can buy specific plastic netting for the heavier pumpkins and melons. It's really just a matter of creativity - anything to get those fruits off the ground, or even up on shelves of some kind, is fair game.
Vertical Greens and Small Fruits
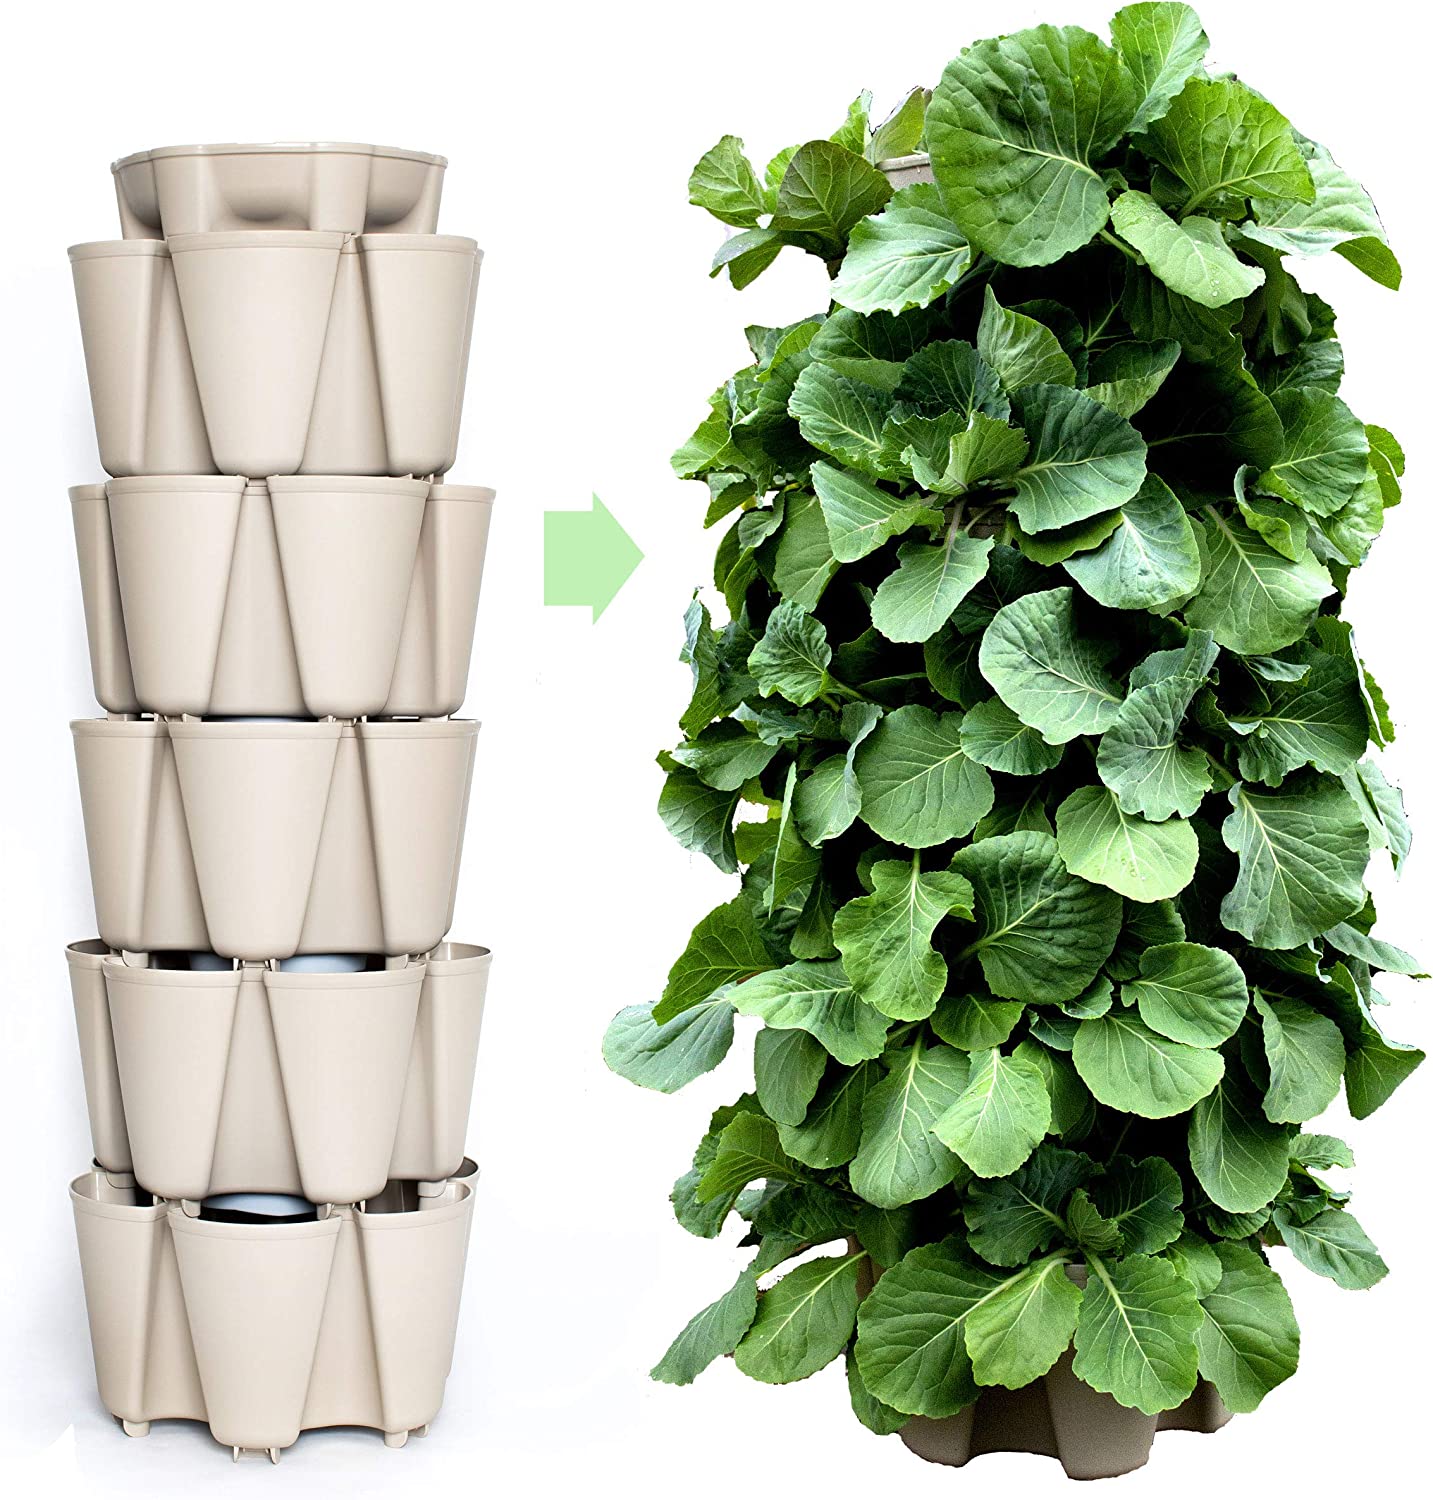
Don't have time to build your own? Many retail outlets now offer complete systems to get your plants off the ground. This system is available at Amazon.com.
Another option for going vertical is to use small columns filled with soil, and plant smaller items in holes within the columns. One version of this is the so-called strawberry tower. The idea here is to cut small regular openings in a 6" diameter PVC tube - say every 6", with a small hole saw. If you want just one vertical "row" of plants, cut just one row of holes all along the length of the tube. This works well if the tube is going to be supported along a wall. If you have a way to support the tube with daylight all around it, you could cut 2-3 rows along the length. In this instance, space out the holes a little wider apart so that the root balls and offset those openings from each other, so the future root balls don't bump into each other within the tube. Then fill the tube with soil, and insert young plants into the openings as you go.
You don't want to pack down the soil too much or you'll suffocate the roots of the lower plants. You also don't want the PVC tube to get very long, say 6' long at the most, because the soil at the bottom will become very compacted in that scenario too. But in this way you can create a green and growing tower that takes up very little floor space, and enjoys good airflow all around it. If you use this method for lettuce, you can practice cut-and-come-again methods so that you always have young tender leaves coming along. If you use this method with strawberries, you can easily harvest your fruits without risk of losing them under a leaf. This method also protects them against most snail and slug damage, as well as rot from being in contact with wet ground.
A variation on this theme is to stack small pots around a central supportive column, fill the pots as usual with soil, then plant the pots with whatever variation of fruits or veggies you want. This will allow you to use all the normal soil-based gardening methods you like, but take up a fraction of the floor space. Just make sure to anchor your tower of pots so that they don't come down in high winds.
Don't have time or energy to build your own? You can now buy kits to accomplish the same thing. Check out this stackable planter system and see if this will work for your own garden.
Go Vertical With Potatoes!
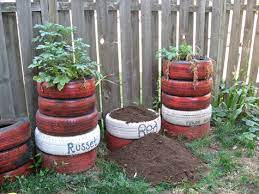
Three different potato towers in various stages of growth. Photo courtesy of betterfarm.org.
Potatoes offer an interesting variation on this theme, and many gardeners swear by it (rather than swearing at it!) In this approach, potato eyes are initially planted in a very shallow depth of soil, within a low-walled container. Then as leaves emerge and grow, more soil is planted around those stems, such that only the leaves are above ground level. As the soil fills the container, the walls of the container are raised to hold in more soil. On and on it goes through the spring and summer, until the plant dies back naturally in the fall. By then the diligent gardener might have potato plants which are growing 3' to 4' above ground level.
The magical thing about this approach is that, two-fold. First, the potato plant will sprout new levels of roots, and thus potatoes, along each newly-buried stem. So by the end of the growing season, you'll have that entire soil column full of spuds. The spuds at the top may not be very big because they didn't have much time to grow. But the ones at the bottom will be really nice and large. Just make sure you allow for good drainage at the bottom so that those bottom-tier spuds don't sit in standing water as the rains return in autumn. A bed of sand, gravel, or crushed stone works well beneath the initial soil, to ensure good drainage throughout the season.
The second magical thing about this approach is that come autumn, you don't have to dig the potatoes out of the ground. Just take down the sides of the container, and there they are! If the gardener is both diligent and thrifty, he or she will transfer the soil into buckets, a wheelbarrow or other convenience container. Then that soil can be used again elsewhere in the garden in the future. That makes this process even more efficient.
What sort of container works best for this approach! It can vary, and it usually comes down to whatever you have and how many potato plants you want. One very common way to do this is with old car tires. Plant the potato eyes in a mound surrounded by a single car tire at the start of the season. Then as the first batch of leaves clear the top of that tire, add soil. Then about 2 weeks later, add another tire, then more soil. As the season progresses and the plant grows, keep adding tires, then soil. At the end of the season, you can "deconstruct" it the same way. In this instance, though, save the soil in a wheelbarrow or buckets and use it elsewhere.
NOTE: don't save that particular batch of soil for next year's potato crop, or tomato crop. The re-use of soil over several years allows disease organisms to build up. Given that tomatoes and potatoes are in the same Nightshade family, they shouldn't share the same growing soils with each other, one year to the next. Recycle this soil for some other plant family, such as salad greens, herbs or even other root crops like carrots or onions.
Don't like the idea of tires? That's fine. There are a LOT of other ways to do this:
- Build mini-composting bins with slats of scrap wood for the sides, so that you can build up the sides in spring, then take them down again in fall.
- Use a hoop of old chain link fencing or hardware cloth, which forms a tube about 3' tall and 3' in diameter. Hardware cloth will hold in the soil quite well but might need some reinforcement to stay upright. The chainlink will have openings large enough for the soil to spill out, so line the sides with strips of cloth or newspaper before adding each new batch of soil.
- if you have access to bricks, pavers, cinder blocks or even flat stones, you can build a ring of these on the ground, plant your potato eyes within the ring, then stack up additional bricks, pavers or cinder blocks over time. You don't need to have perfect sides; the potatoes certainly don't care! Just make it as even as you can. With cinder blocks, orient the openings vertically so that soil doesn't spill out of those holes throughout the season.
Creativity can go a long way here. Just use what you can, and get those potatoes growing UP. The higher they go, the more potatoes you'll have at the end of the season.
Hanging Baskets
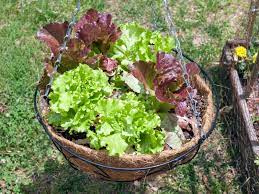
Want lettuce and don't have any floor space at all? Hang them high! This floral basket has been repurposed for lettuce. Image courtesy of Gardening Know How.
How many of us have seen those very nice hanging baskets of flowers each spring and summer? Pretty, but you usually don't eat them. What if we took that same approach and planted something useful in those hanging baskets? Many garden greens are relatively small plants with shallow root systems, particularly if they are grown as cut-and-come-again or harvested as baby greens. If you don't have ground area to work with but you have a sunny patio, you can plant successional baskets with baby greens, then harvest throughout the growing season.
Window boxes can work the same way. You can grow an amazing number of things in a small 6" wide, 8" deep window box of whatever length. Salad greens, small herbs, strawberries, wheatgrass, etc. The deeper boxes could even grow small root crops such as carrots, leeks, garlic and possibly even onions if you were so inclined.
Get Creative!
These are just a few of the ways you can "go vertical" in the garden. As you look around you'll see a LOT of different ways to stack plants vertically instead of spreading out horizontally. So the next time you lament not having any growing space, stop yourself and ask "instead of growing horizontally, what if I grew vertically?" And then start experimenting! If you need some ideas, go walk through a retail nursery display area and see all the different ways they stack plants up and down to make the most of their retail area. Then experiment! Some of your ideas may not work out very well but others will surprise you and work better than you ever expected. Test things out on a small scale, see how they go, make changes and improvements, then test those. Before long you'll be a vertical gardening expert!
When You Succeed, Share!
When you do have success stories, spread the word! Post pictures to your favorite social media site, talk to your local gardening club, or even contact us here and we'll share it for you! Others are asking the same questions you are, and can benefit from your experience. Let's make the most of the space we have, and help others do the same.
More gardens, more better, even if they're vertical!
Our Successful Farm and Ranching Books
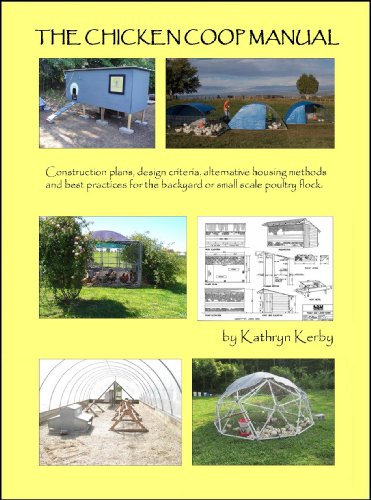
We released our very first self-published book, The Chicken Coop Manual, in 2014. It is a full color guide to conventional and alternative poultry housing options, including 8 conventional stud construction plans, 12 alternative housing methods, and almost 20 different design features. This book is available on Amazon.com and as a PDF download. Please visit our sister website's The Chicken Coop Manual page for more information.
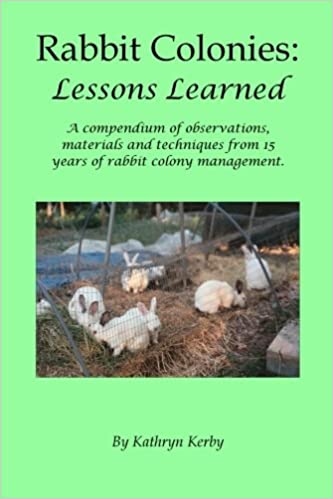
Rabbit Colonies: Lessons Learned
We started with rabbits in 2002, and we've been experimenting with colony management ever since. Fast forward to 2017 when I decided to write another book, this time about colony management. Rabbit Colonies: Lessons Learned is chock-full of practical information, and is available from both Amazon and as a PDF download. Please visit our sister website's Rabbit Colonies page for more information.
The Pastured Pig Handbook
We are currently working on our next self-published book: The Pastured Pig Handbook. This particular book addresses a profitable, popular and successful hog management approach which sadly is not yet well documented. Our handbook, will cover all the various issues involved with pastured hog management, including case studies of numerous current pastured pig operations. If you have any questions about this book, please Contact Us.